
Today's craft project is courtesy of the Duct Tape Queen, Richela Fabian Morgan, who is the author of the Duct Tape Series Books: Tape It & Make It, Tape It & Make More, Tape It & Wear It and her newly released book, Duct Tape Bags.
Craft Project: Duct Tape Notebook Covers
Material: duct tape, notebook
Tools: parchment paper, pencil, scissors
Additional tool: bubble letter stencil (the one used in photo is a free printable.
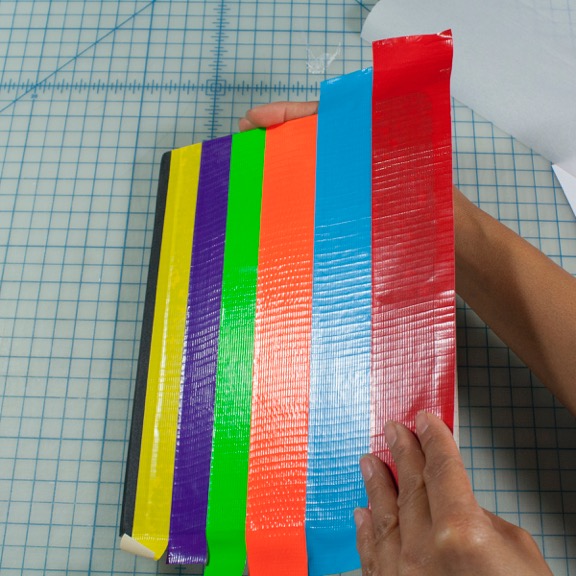
1. Cover front of notebook with vertical strips of duct tape.
2. Fold the duct tape strips over the top, bottom, and right edges of the cover.
3. Trace letters onto the parchment paper.
4. Cover the traced letters with a strip of duct tape.
5. Flip over the parchment paper. You should be able to see the traced letters.
6. Using a pair of well-oiled scissors, cut out the letters.
7. Move around the cut letters on the notebook cover until you find an acceptable position.
8. One by one, remove the parchment paper on the back of each letter and adhere it onto the notebook cover.
Richela Fabian Morgan began her duct tape odyssey 8 years ago with a simple bi-fold wallet, before writing the best-selling crafting books Tape It & Make It, Tape It & Make More, and Tape It & Wear It. She is an indie crafter specializing in paper, adhesives, and found materials. Her newest duct tape crafting book, Duct Tape Bags, is available nationwide. For more information, please visit, www.RichelaFabianMorgan.com


No comments:
Post a Comment
Thank You For Leaving Me A Message! Happy Crafting :)